
If you have purchased our kit, here are some tips and guidelines.

1. Base color
The mask comes already with primer and ready to paint. Choose your most predominant color and apply it first, usually in spray paint or with an airbrush.
Apply several light coats for the paint to dry faster. If you apply too thick coats it could become a mess and you will have to scrape the paint off, a very long and tedious process.
2. Secondary color(s)
First make sure the base color is completely dry ! I recommend at least a full day or more.
You can paint the details with a brush or with spray paint / an airbrush.
If you decide on spray paint/airbrush, masking the raised details can be long and tricky. Not every masking tape is equal and I find that the best out there is definitely the Tamiya yellow masking tape, combined with the thin white tape for curves that works very well and save a lot of time.
If you can’t find the Tamiya tape, the original 3m blue painter tape can do the job too. Absolutely avoid the “Edge lock” blue one.
What helps a lot is placing the tape on the model temporarily and tracing with a pencil the detail lines, then removing the tape and cutting following the traced lines.
3. Weathering
This step is optional, depending on if you want your mask to look shiny new or used.
To make it look old, mix some dark colors with acrylics, apply everywhere and let it dry a bit. Before it is completely dry, wipe the excess paint with a rag or paper towel. The dark colors will stay in cracks, scratches and holes, making the mask look older.
Repeat the process for an older look.
4. Scratches and damage
If you want your mask to look like it has endured lots of battles, use a hobby knife to make scratches here and there. As time goes by, paint wears off at edges of forms that stick out, like the edges of raised areas and sides. Try to make this effect by scratching the paint lightly along the edges at these places. Finally, you can add some battle damage where you judge it appealing.
5. Cleaning the back
Once you are satisfied of your paint job, you can clean off the paint that got on the backside with rubbing alcohol, mineral spirits or acetone. Be careful to not get some on the front or it will mess up your hard work.
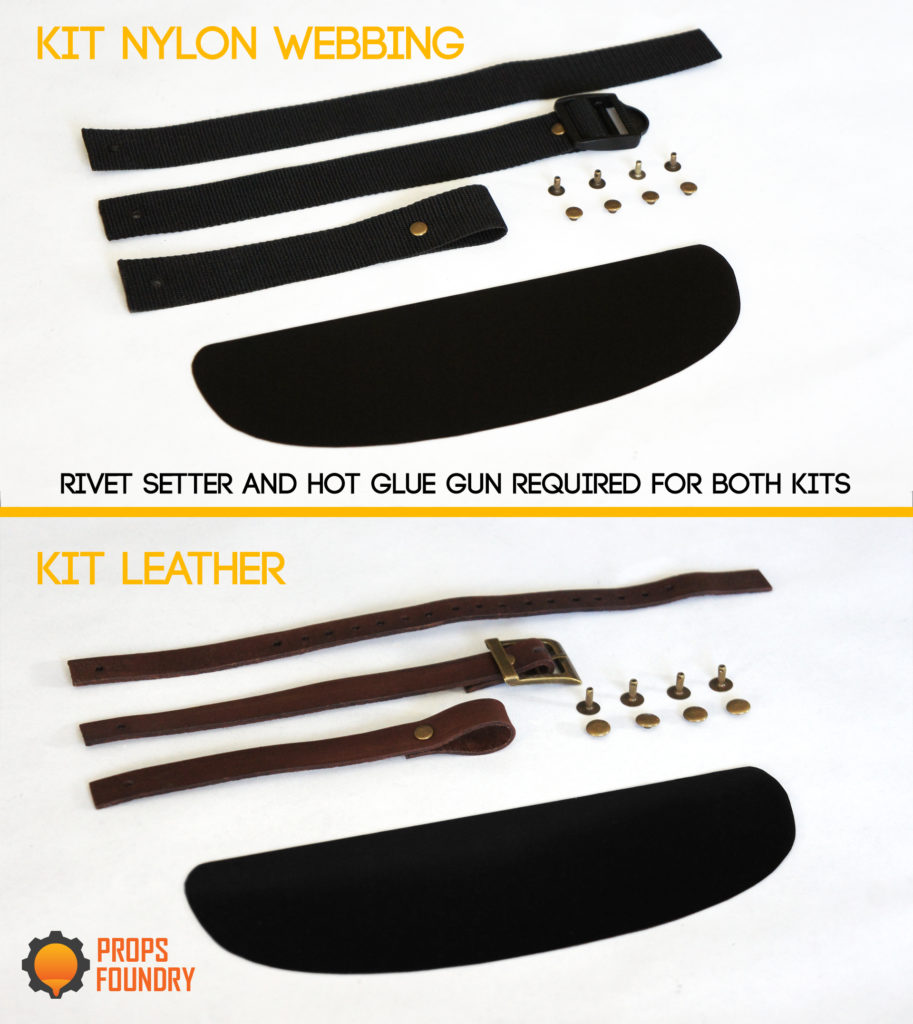
6. Setting the straps and rivets
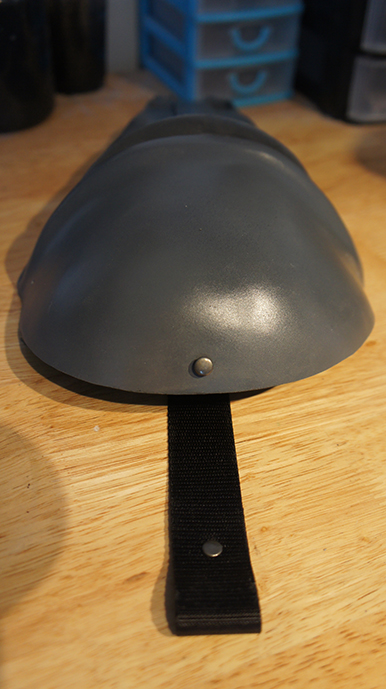
(please note that this is the Darth Revan’s mask on the photos for now but it is the same procedure).
The holes for the straps are pre-drilled, so you just have to set the rivets. I recommend placing each rivet first and setting them all when everything is in place.
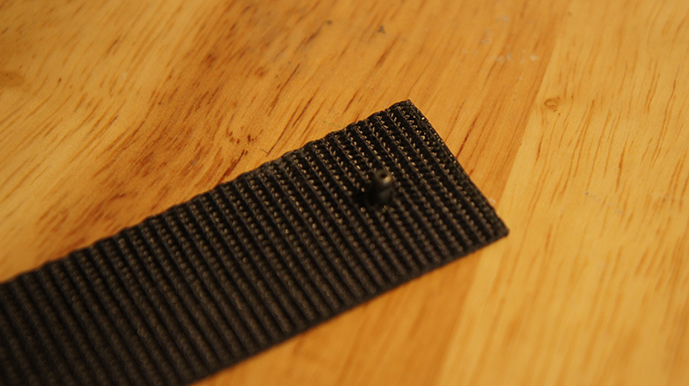
Take the top strap (the one with the loop on the bottom) and place a rivet foot on the back of the strap. It should be on the same side as the other rivet foot / rough side for leather.
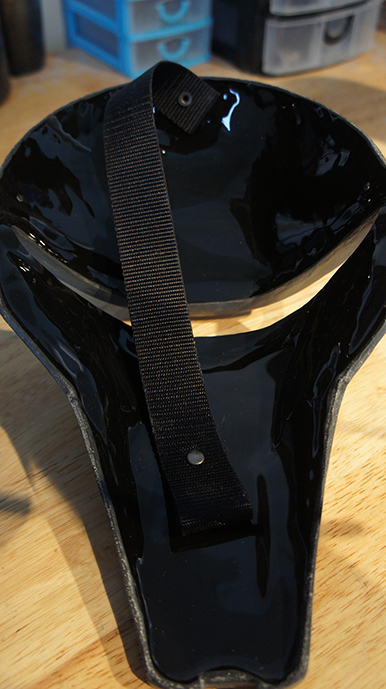
Insert the rivet foot with the strap in the hole on top (back side of the mask).
Turn the mask over, place the rivet head on top of everything but don’t set it yet.
Take the strap with the buckle and put a rivet foot in the hole at the end. Pass it in the loop of the top strap and put it through the left hole of the mask. Place the rivet head.
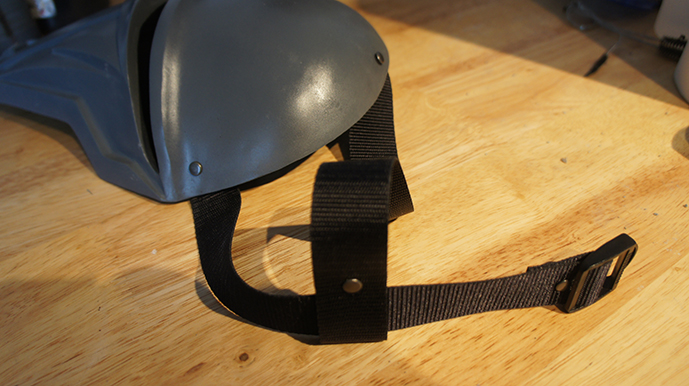
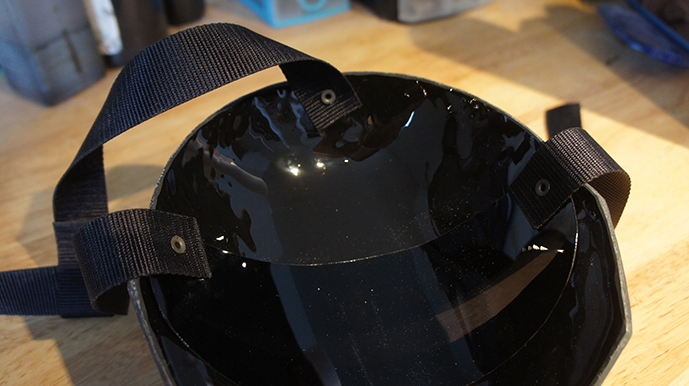
Finally, take the last strap (multiple holes on the leather one / blank one for nylon webbing), pass a rivet foot in the hole.
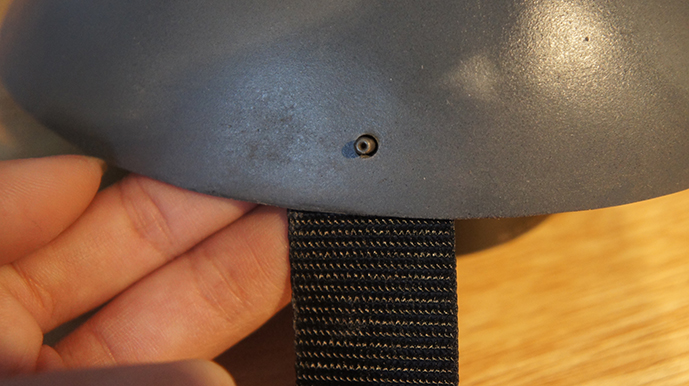
Place the rivet with strap in the last hole of the mask and place the rivet head on top.
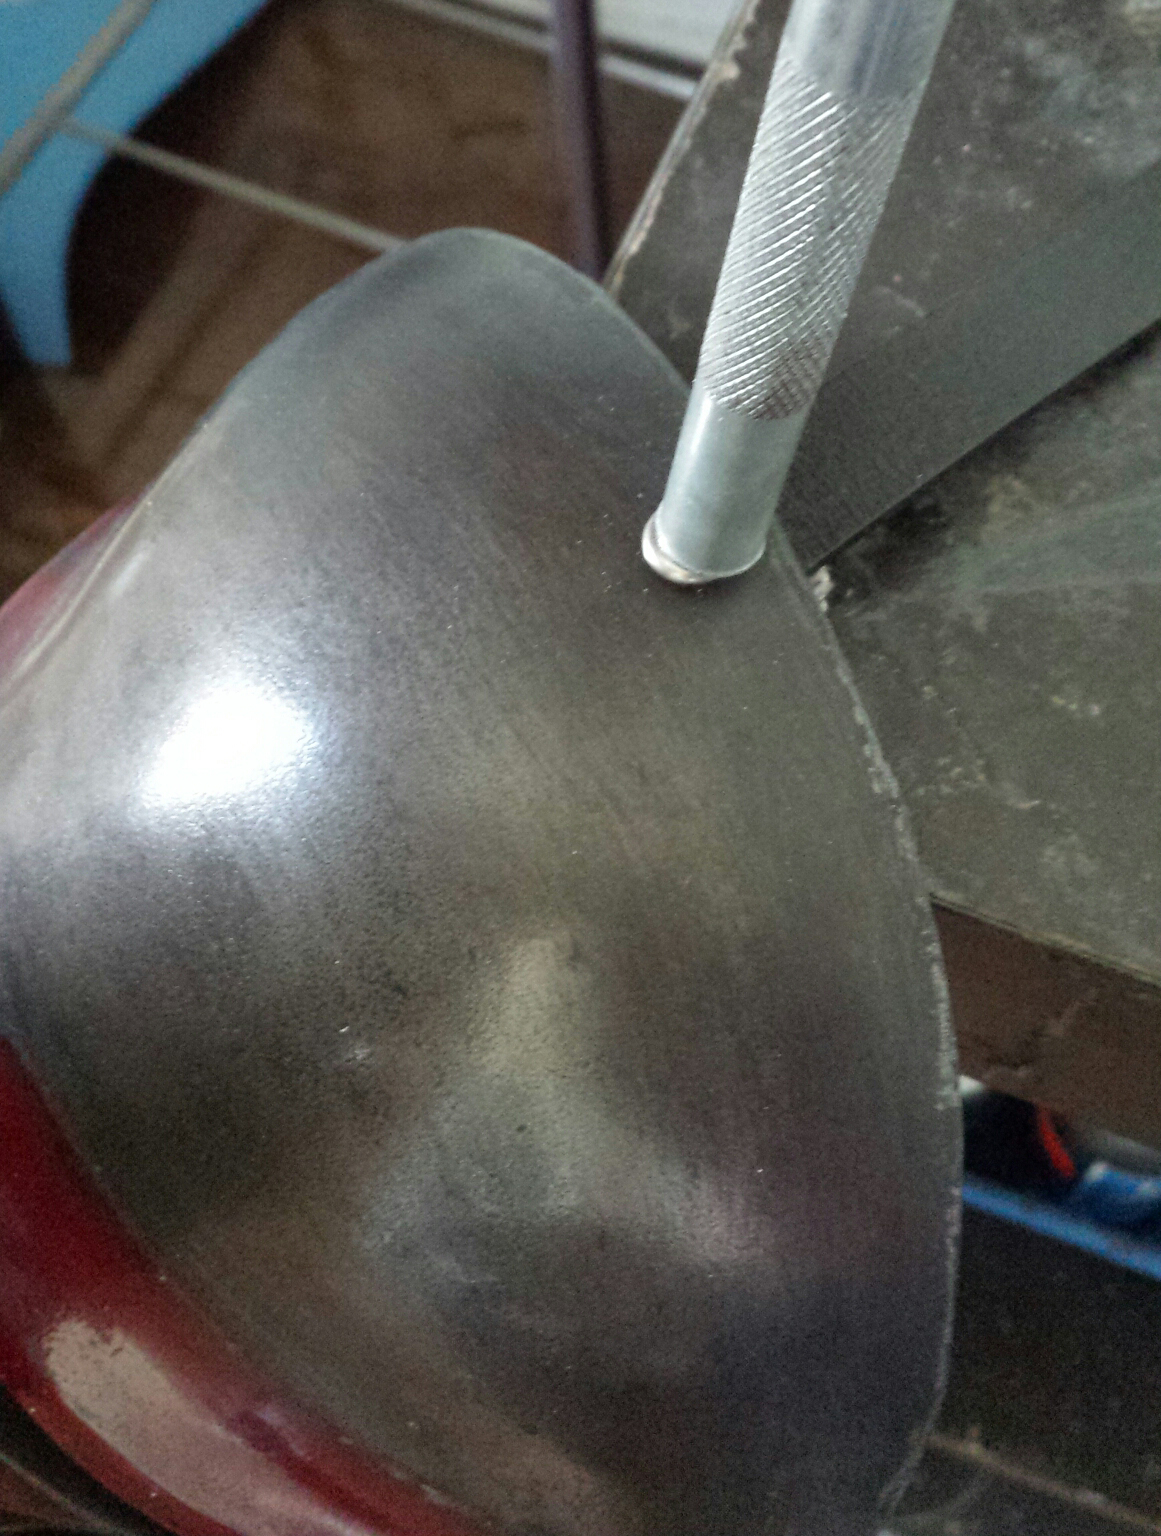
With your rivet setter and a hammer set the 3 rivets. Have someone hold the mask in place for you and use a table corner to make it easier. Don’t hammer it too hard and make sure the rivet is settled correctly.
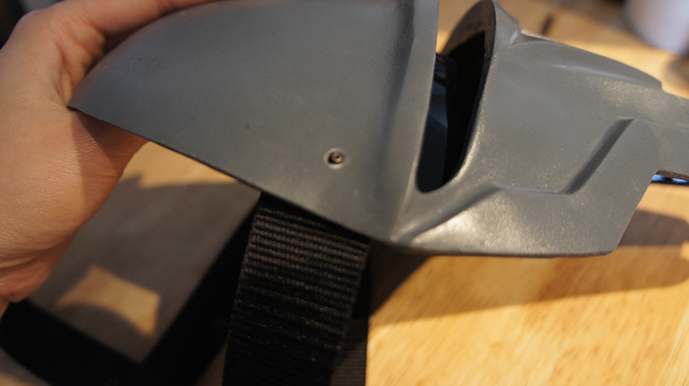
7. Glueing the visor
The visor has a backside and a front. The front is where the tinted sticker is and you can see on which side it is by looking carefully at the edges.
Make sure that the tinted sticker is facing the same way as the front of the mask, otherwise the sticker could wrinkle when the visor is flexed but don’t worry if that happens you have a spare one.
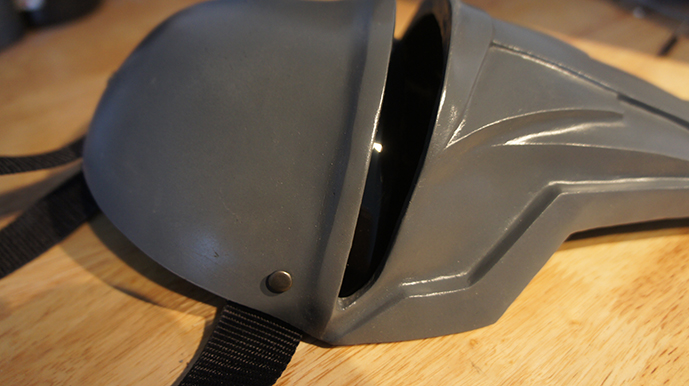
I usually use a piece of masking tape at the visor’s center to hold it in place inside the mask, then with a hot glue gun, I glue one side, let it cool down and glue the other side.
You can use any glue you prefer, just avoid superglue as it can fog the plastic of the visor forever.
